Ubuntu 22.04 Installation
This guide describes how to perform an OS installation of Ubuntu 22.04 LTS onto Stretch.
Ubuntu Image
Download the 22.04.3 amd64 Ubuntu desktop image.
Create a bootable drive with this Ubuntu image. There are many ways to do this, but the recommended way is to use Etcher on your personal machine. Open the Etcher software and follow it's instructions to create the bootable drive. There is a good video tutorial available here that explains the procedure.
Installation
-
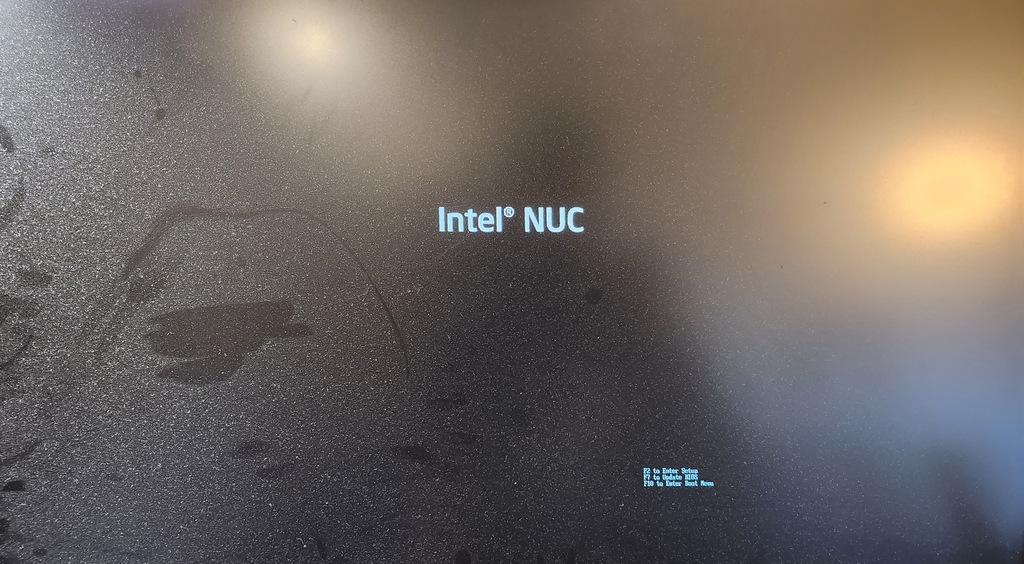
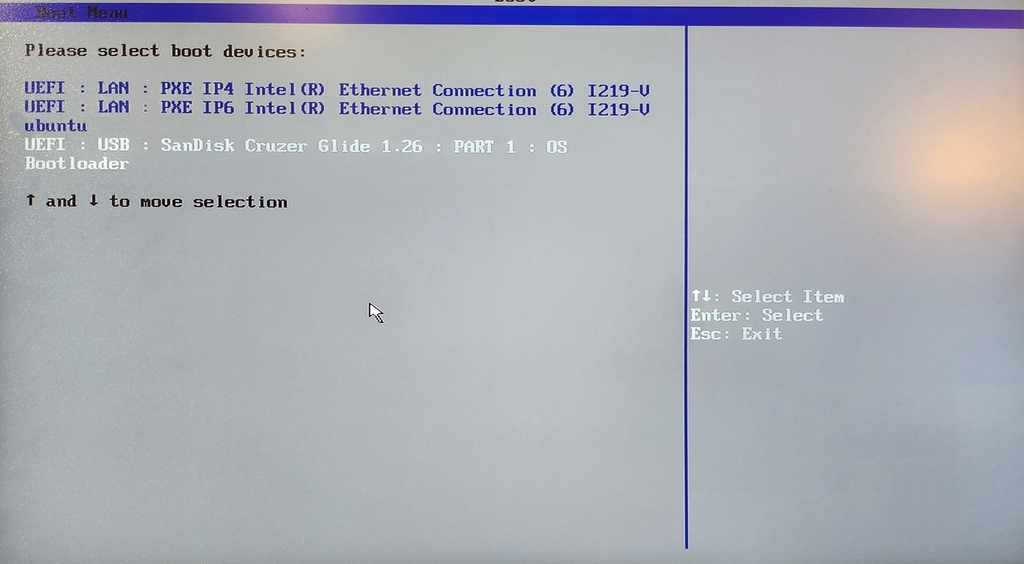
Insert a bootable drive into a USB port in the robot's trunk, as well as a monitor and keyboard. Next, power on the robot and at the bios startup screen (shown below) press F10 when prompted to enter the boot menu.
Note
If you're using a Bluetooth keyboard, the BIOS likely won't recognize the F10 keypress.
-
From the boot menu, select 'OS BOOTLOADER' or look for a similar option that mentions "USB", "LIVE INSTALLATION", or "UBUNTU". This will take you to the grub menu.
-
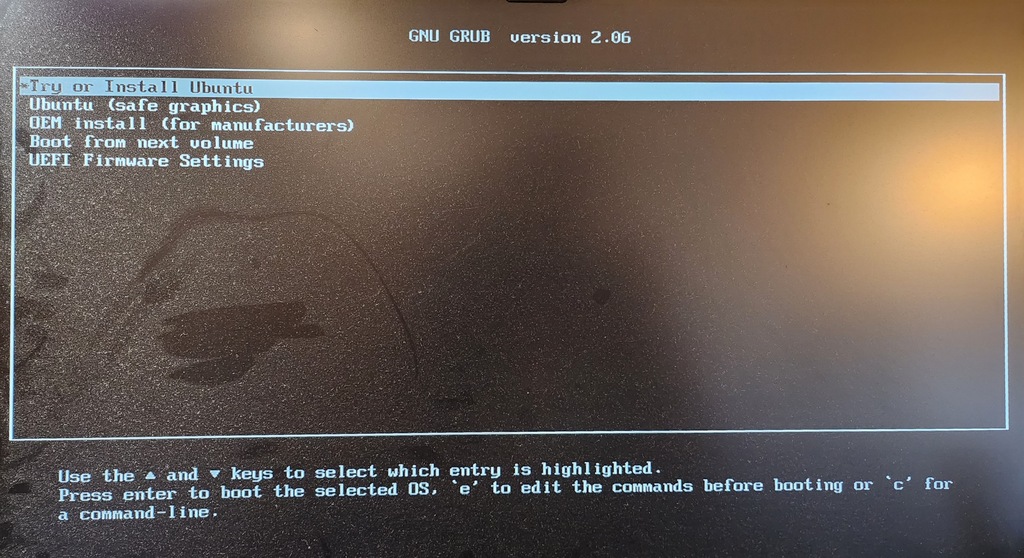
From the grub menu, select 'Ubuntu' or look for a similar option that mentions "Install Ubuntu".
-
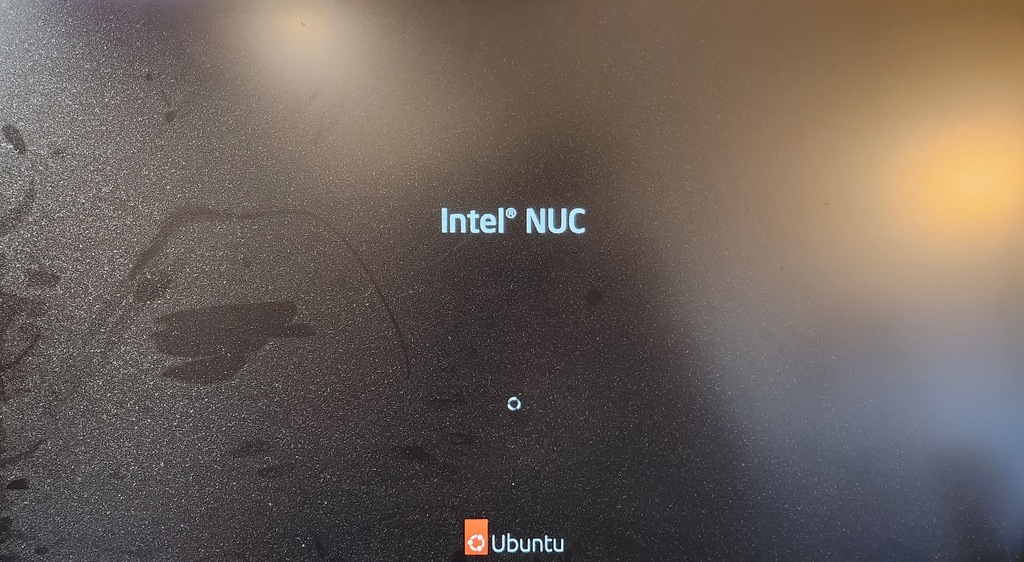
A disk errors checker will start and then the Ubuntu 22.04 installer will be launched.
-
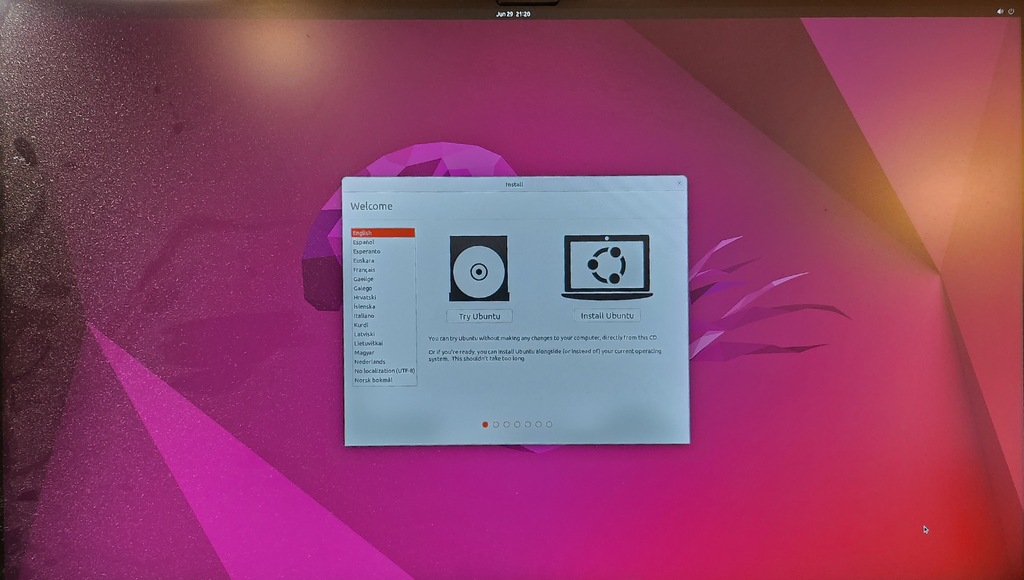
The first screen of the installer will prompt you to select a language for the system and choose between trying or installing Ubuntu. Select 'English' and "Install Ubuntu".
-
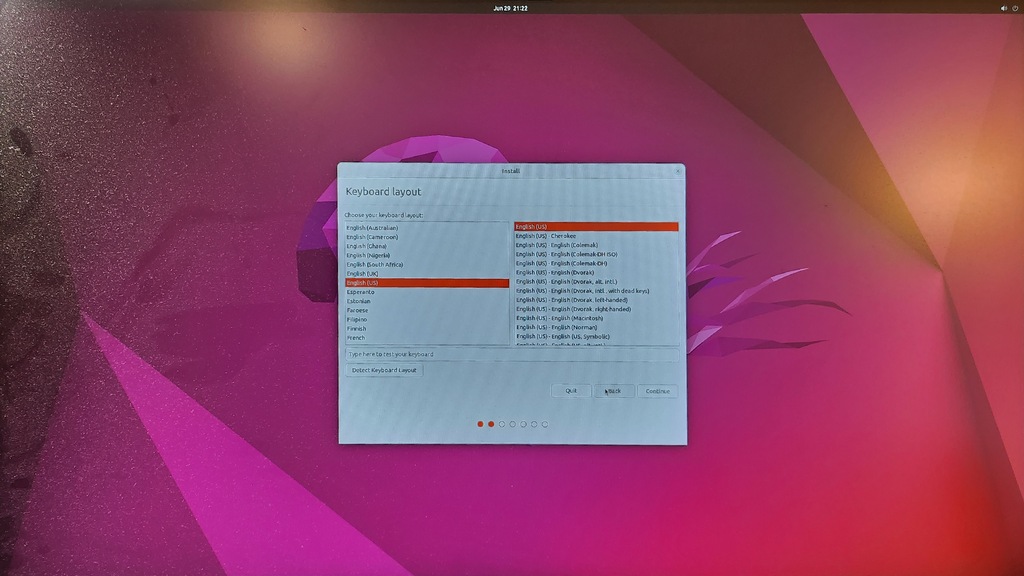
Next you will be prompted to select a keyboard layout. Select 'English(US)'.
-
The next page will show a menu to select a Wifi network if you are not already connected. For a faster and more reliable install, we suggest using a wired connection if one is available to you.
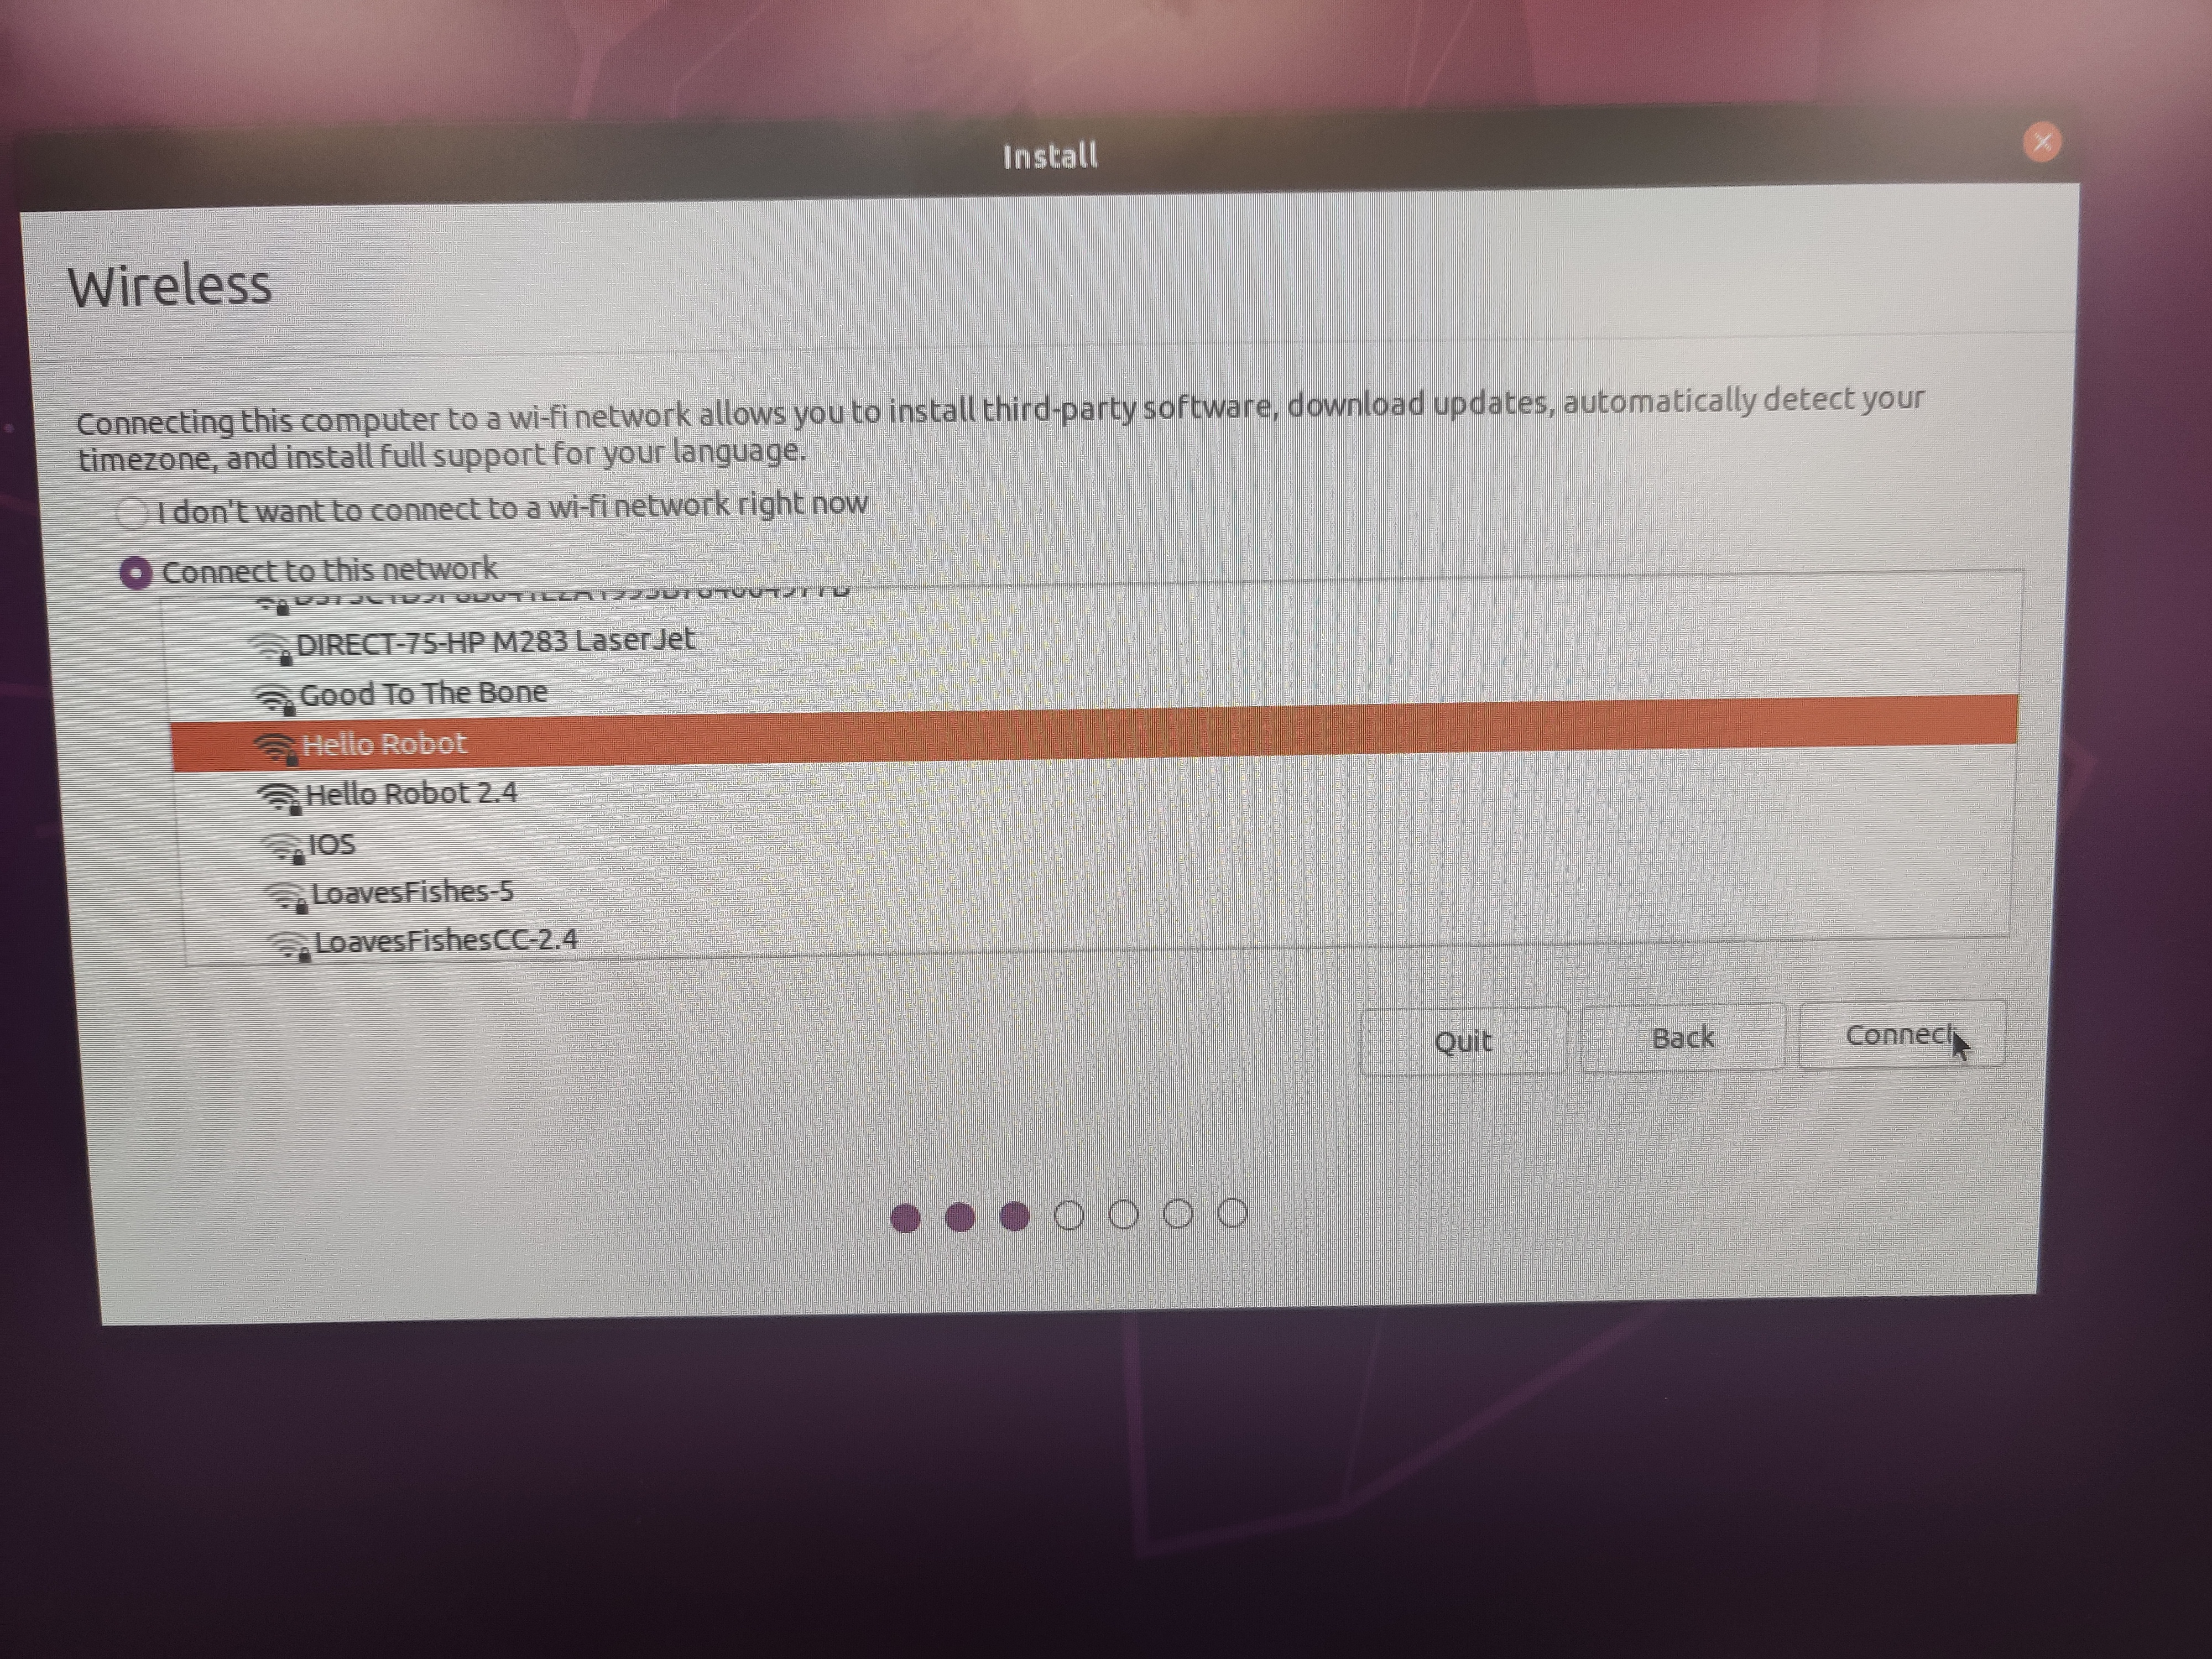
-
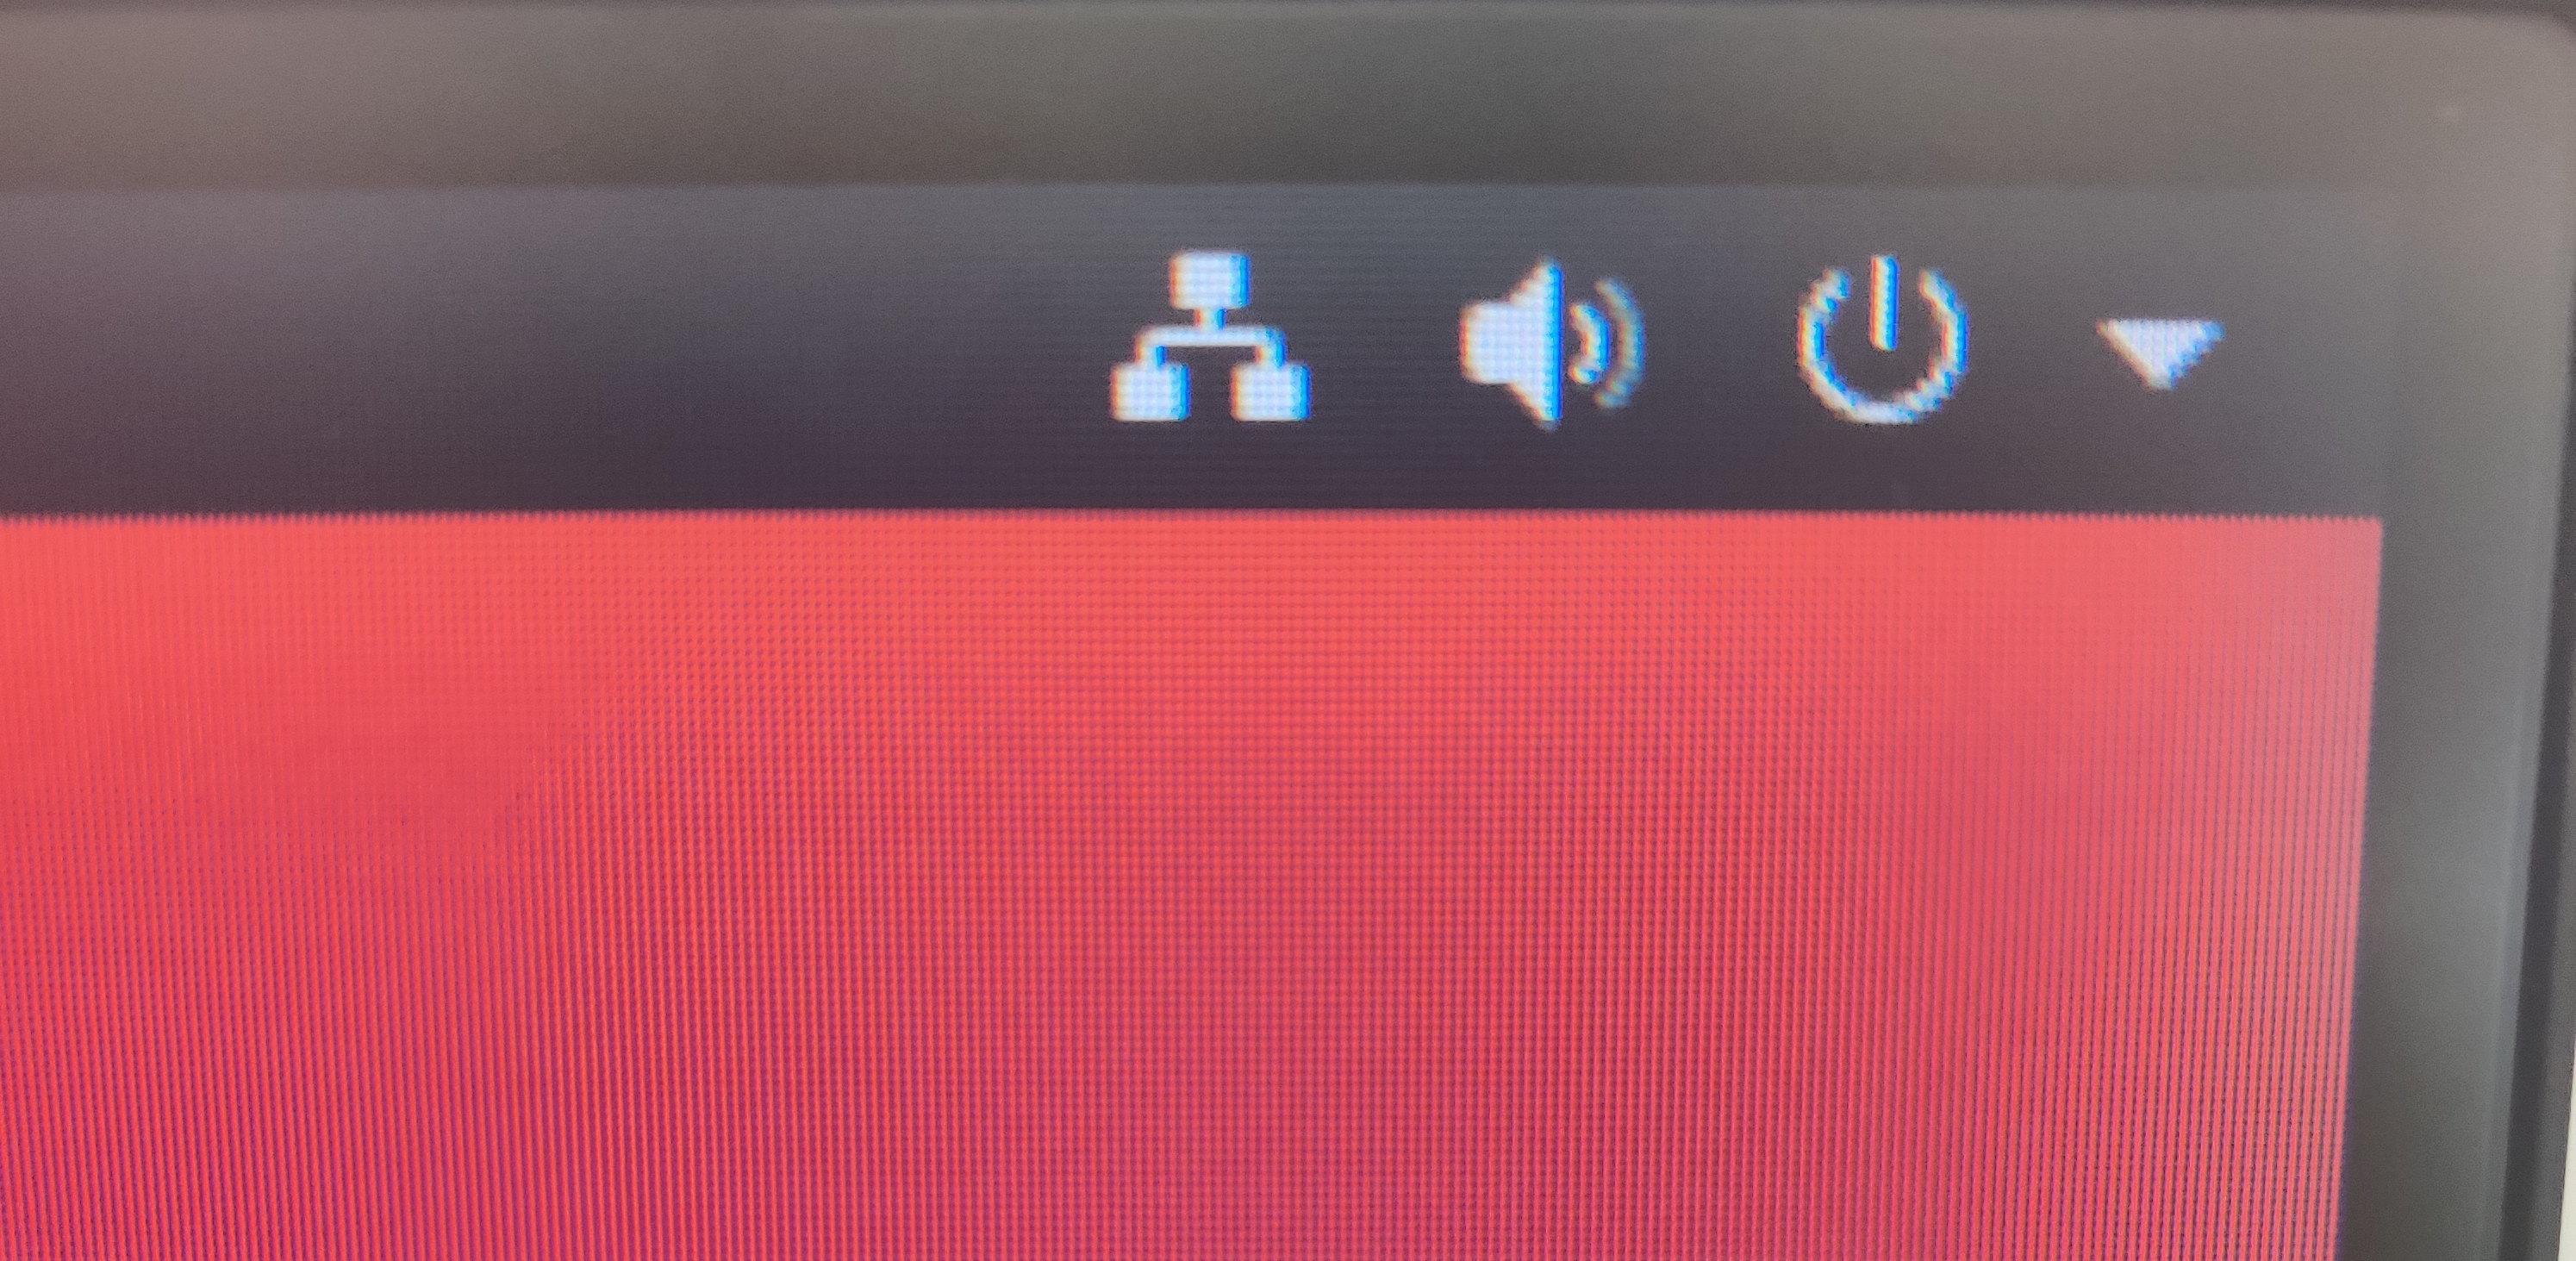
Your connection status will be visible in the top right of the display.
Wifi Ethernet 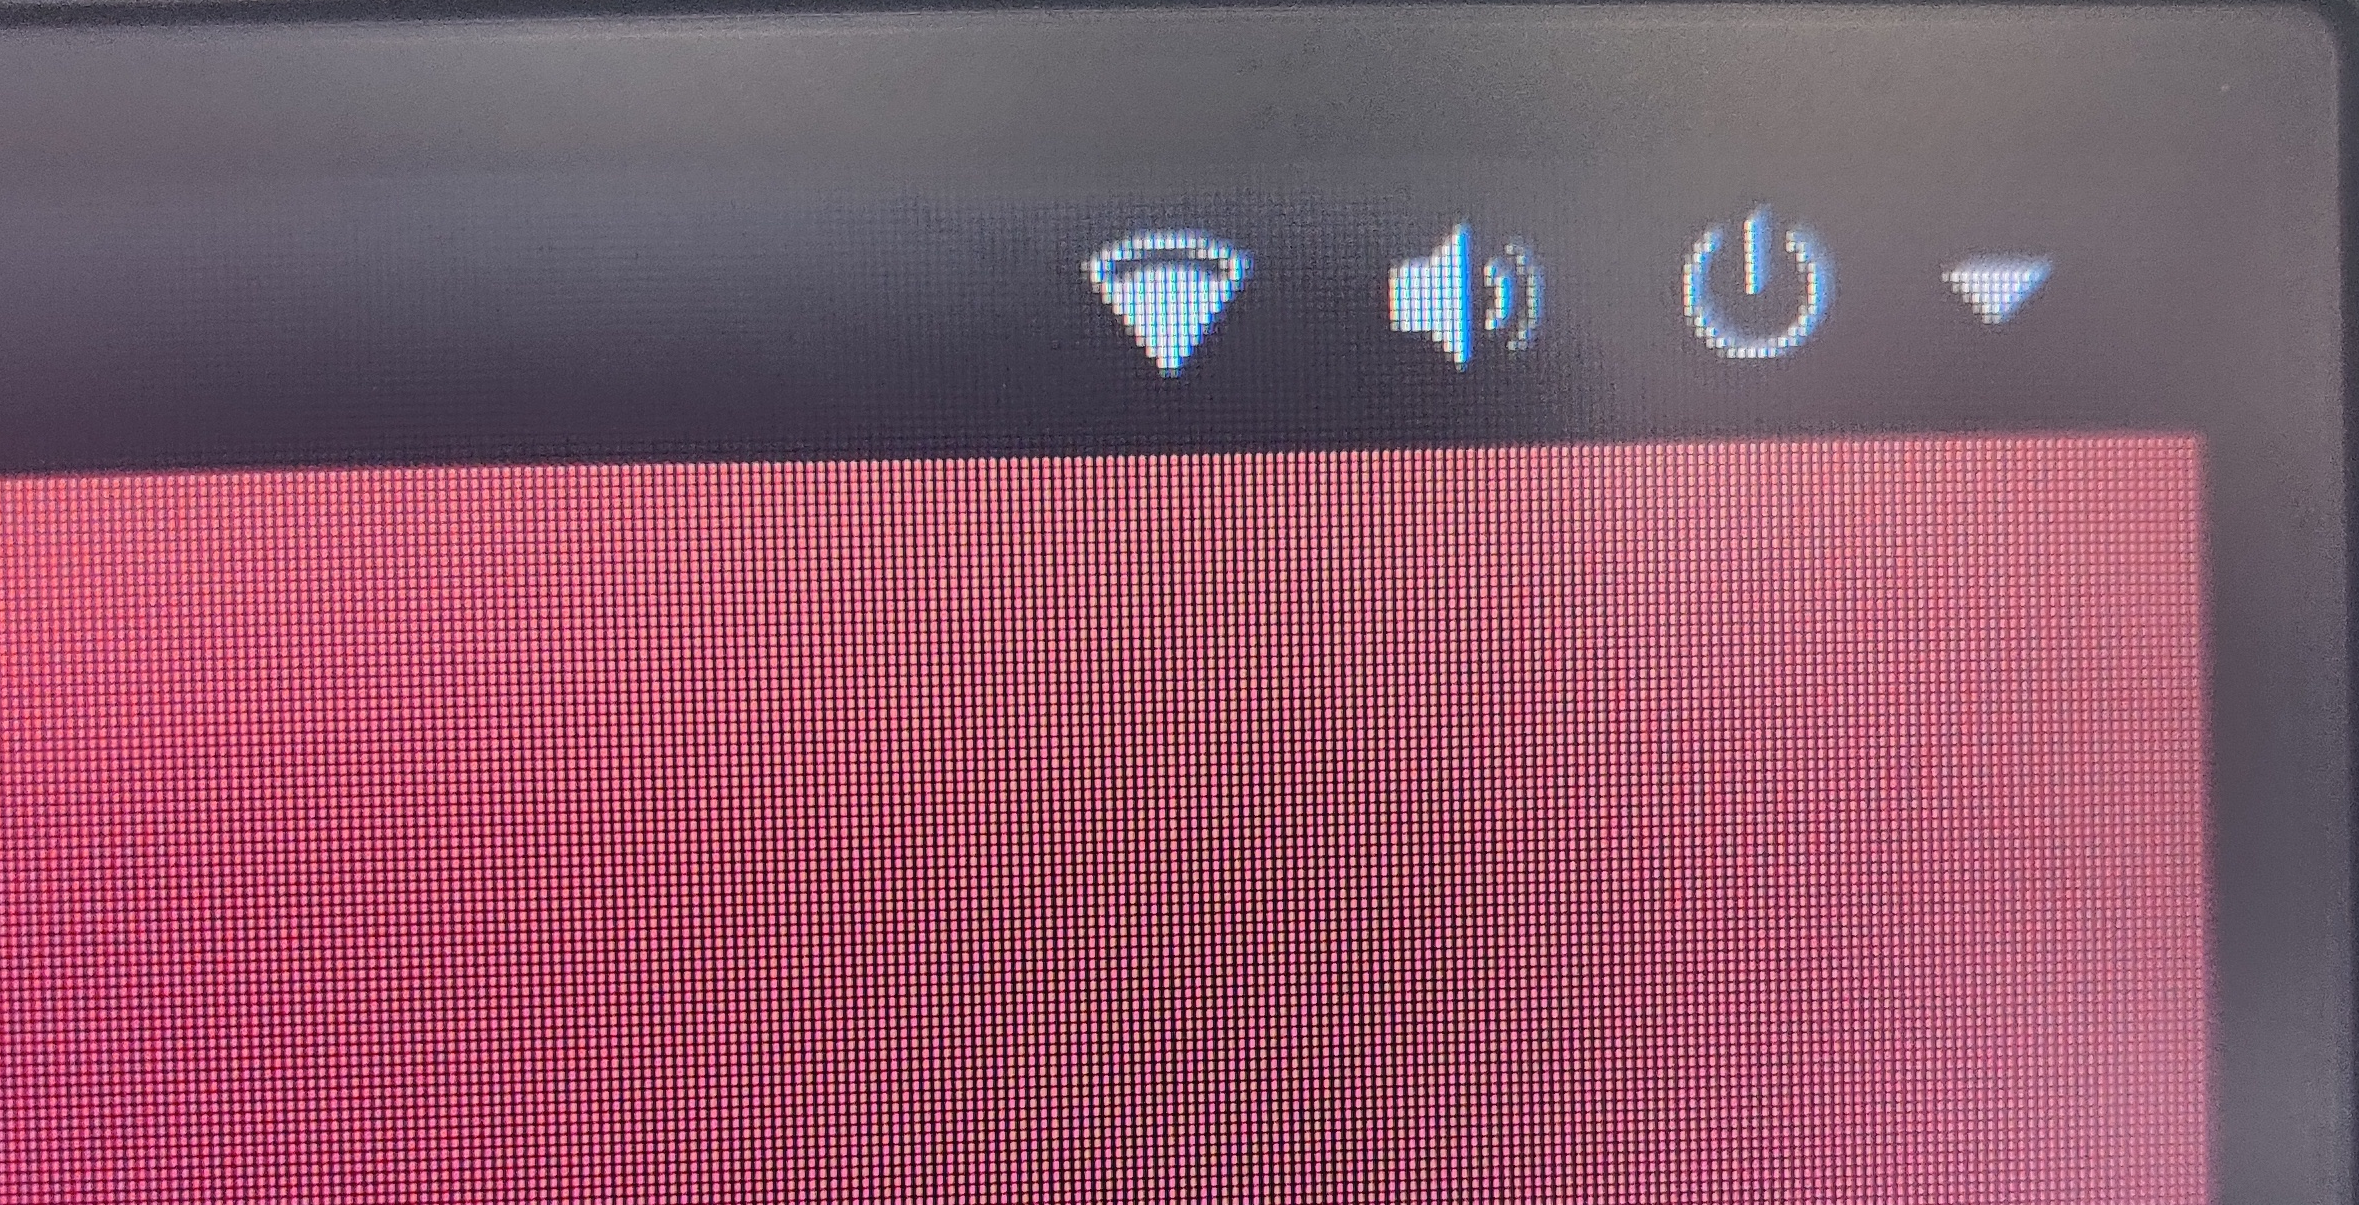
-
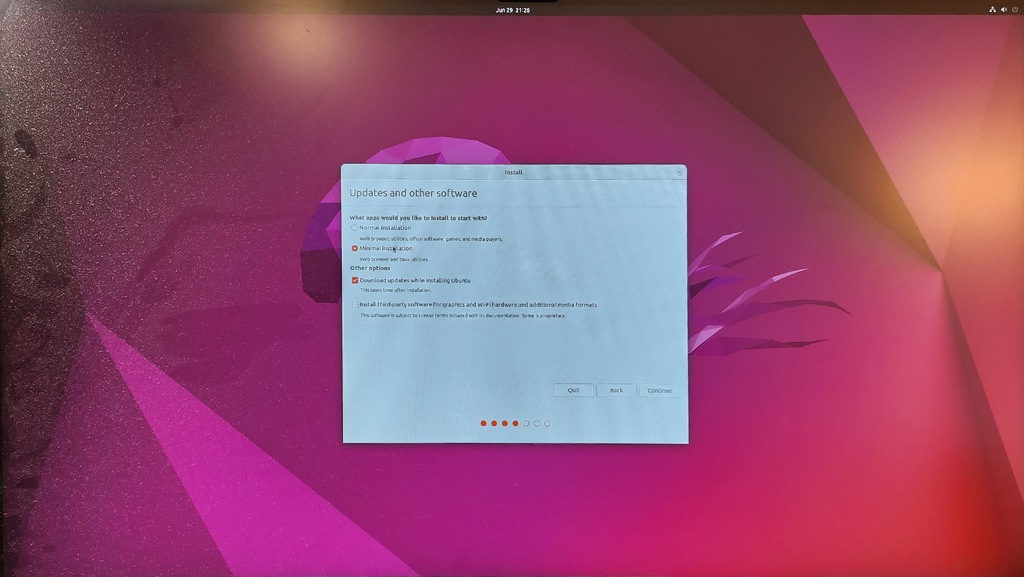
The next page configures what gets installed. Select 'Minimal Installation' under 'What apps would you like to install to start with?' Check the box next to 'Download updates while installing Ubuntu' (this option will be unavailable if there is no interent connection) and uncheck 'Install third-party software for graphics and Wi-Fi hardware and additional media formats'.
Erase & Reinstall vs Install Alongside
-
On the next page titled 'Installation type', you may choose between 'Erase disk and reinstall Ubuntu' or 'Install Ubuntu 22.04 alongside Ubuntu XX.04'. If you've already backed up data from the previous partition, or the previous partition is corrupted, select the erase & reinstall option. If you'd like to preserve your previous Ubuntu partition, select the alongside option. If you choose the alongside option, another screen will allow you to change the size of each partition. It's recommended to give each partition at least 50GB.
Erase & Reinstall Install Alongside 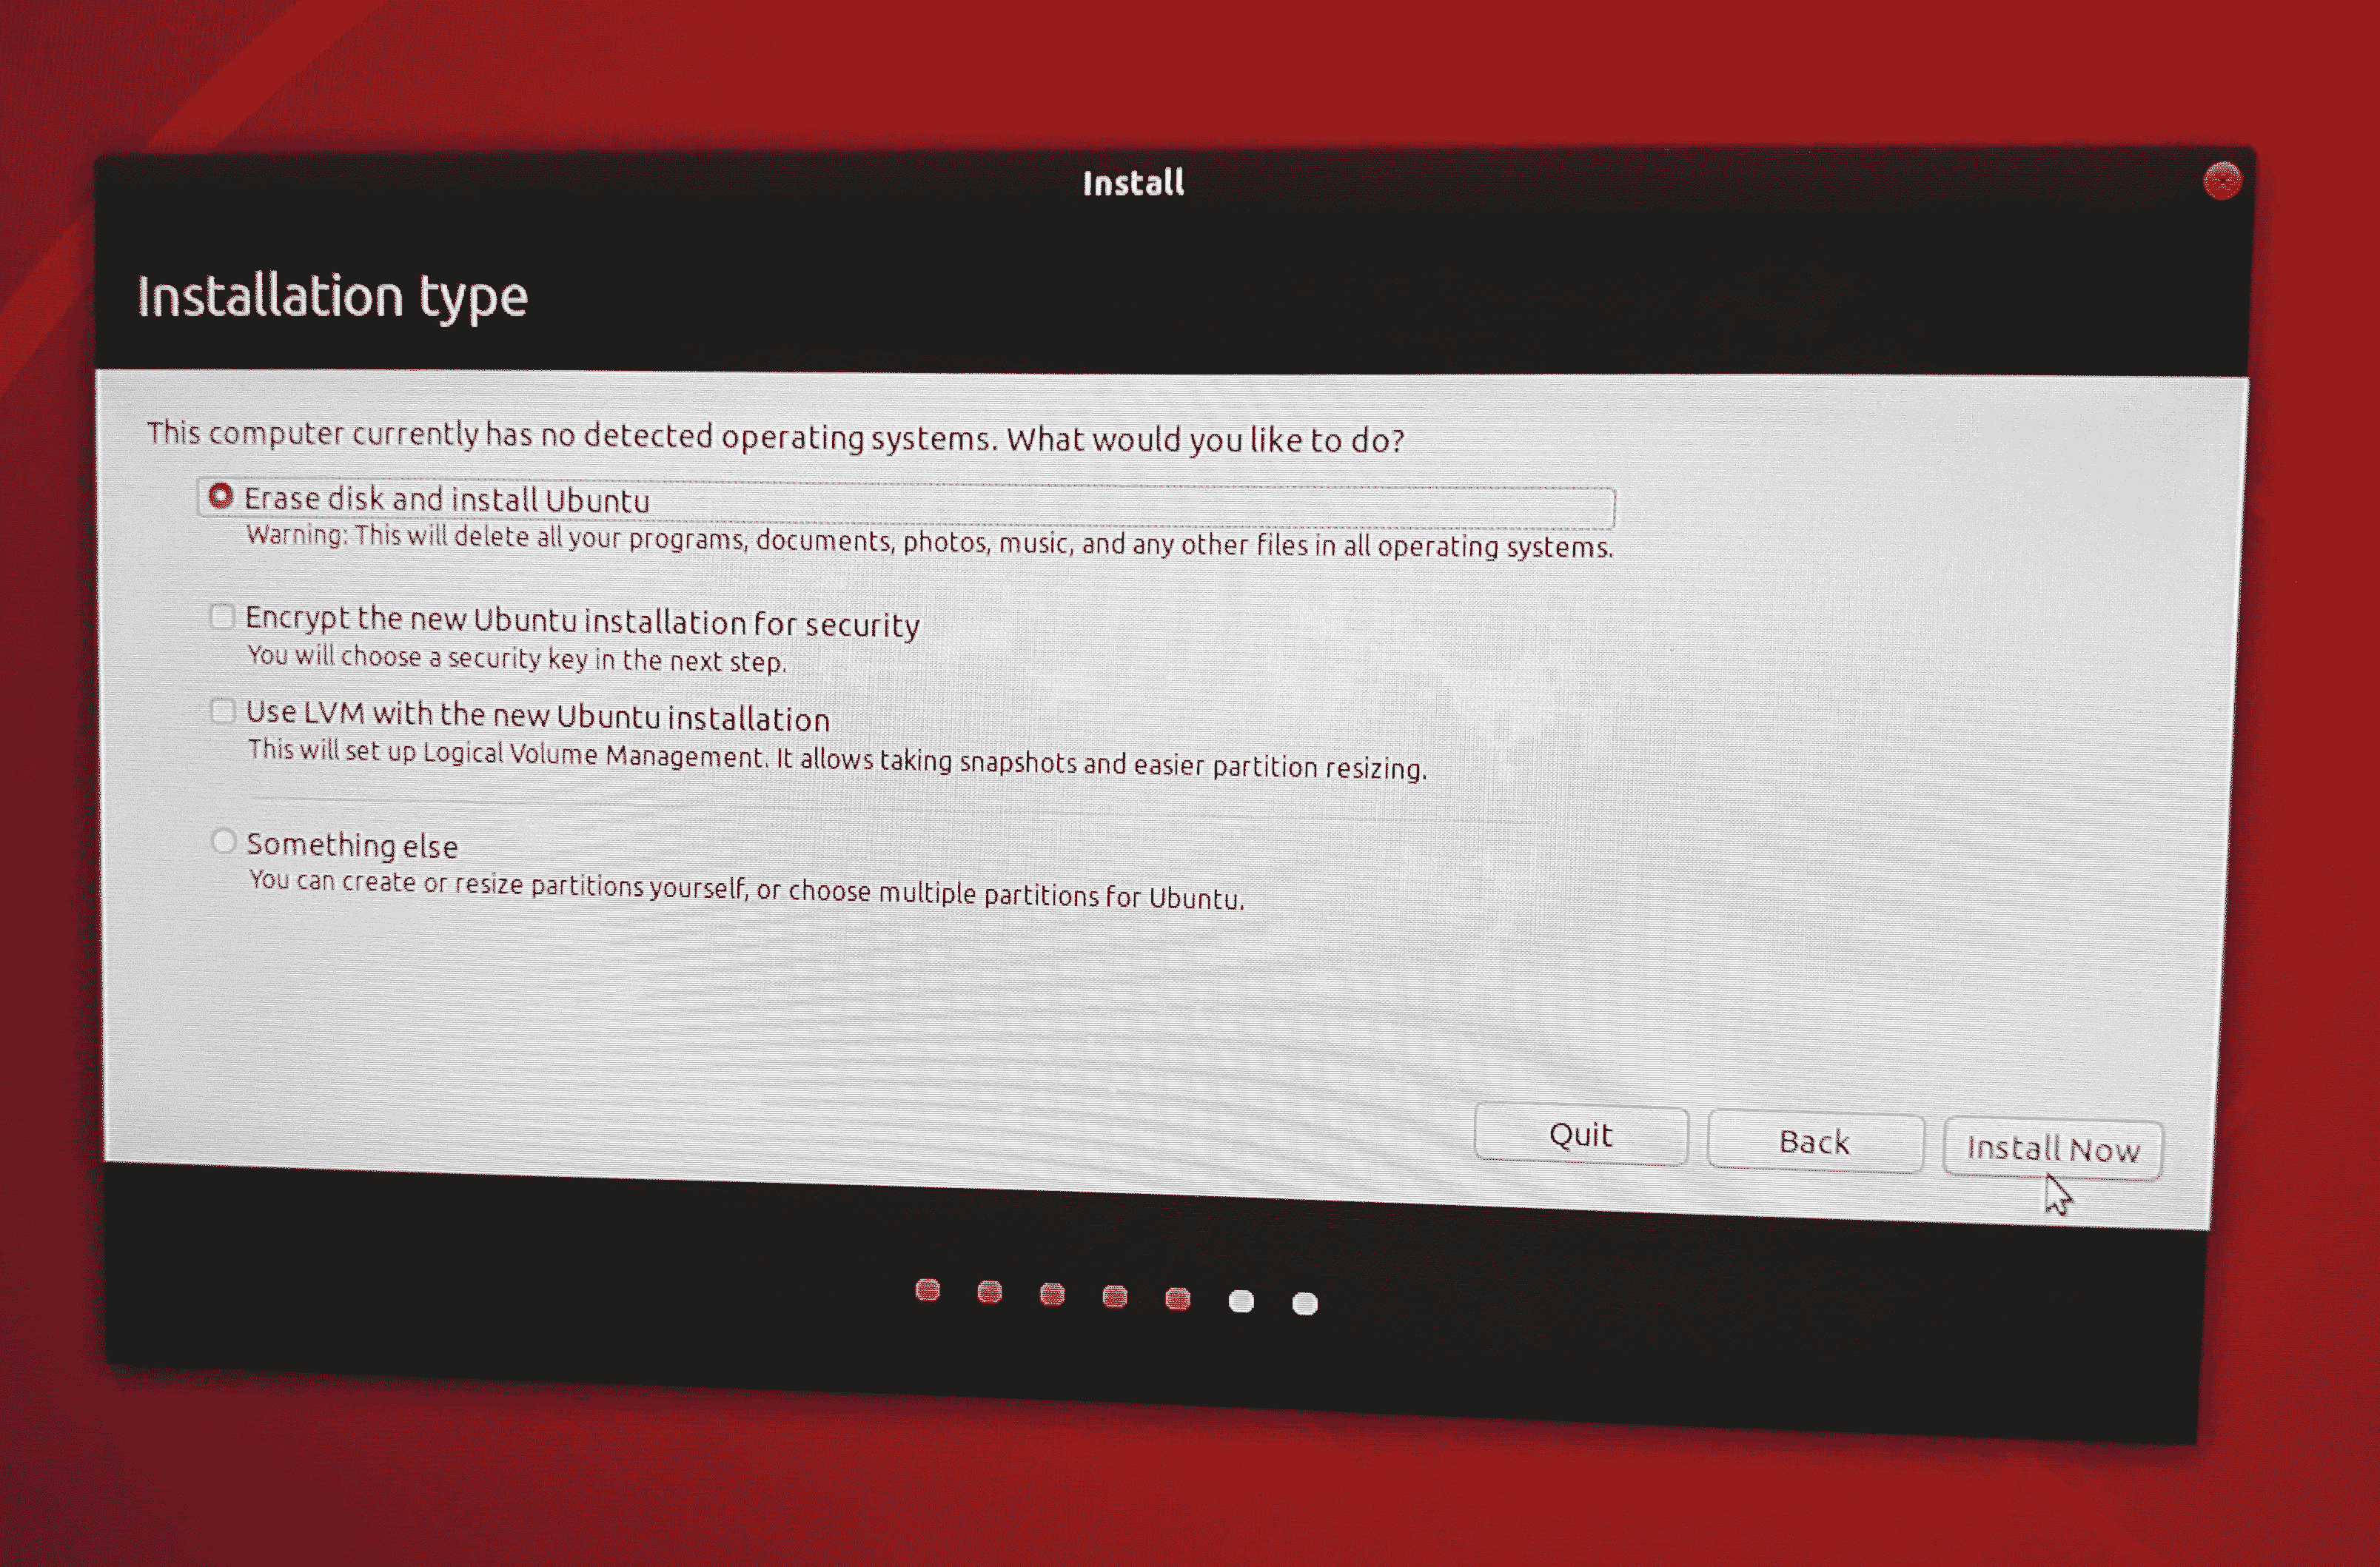

-
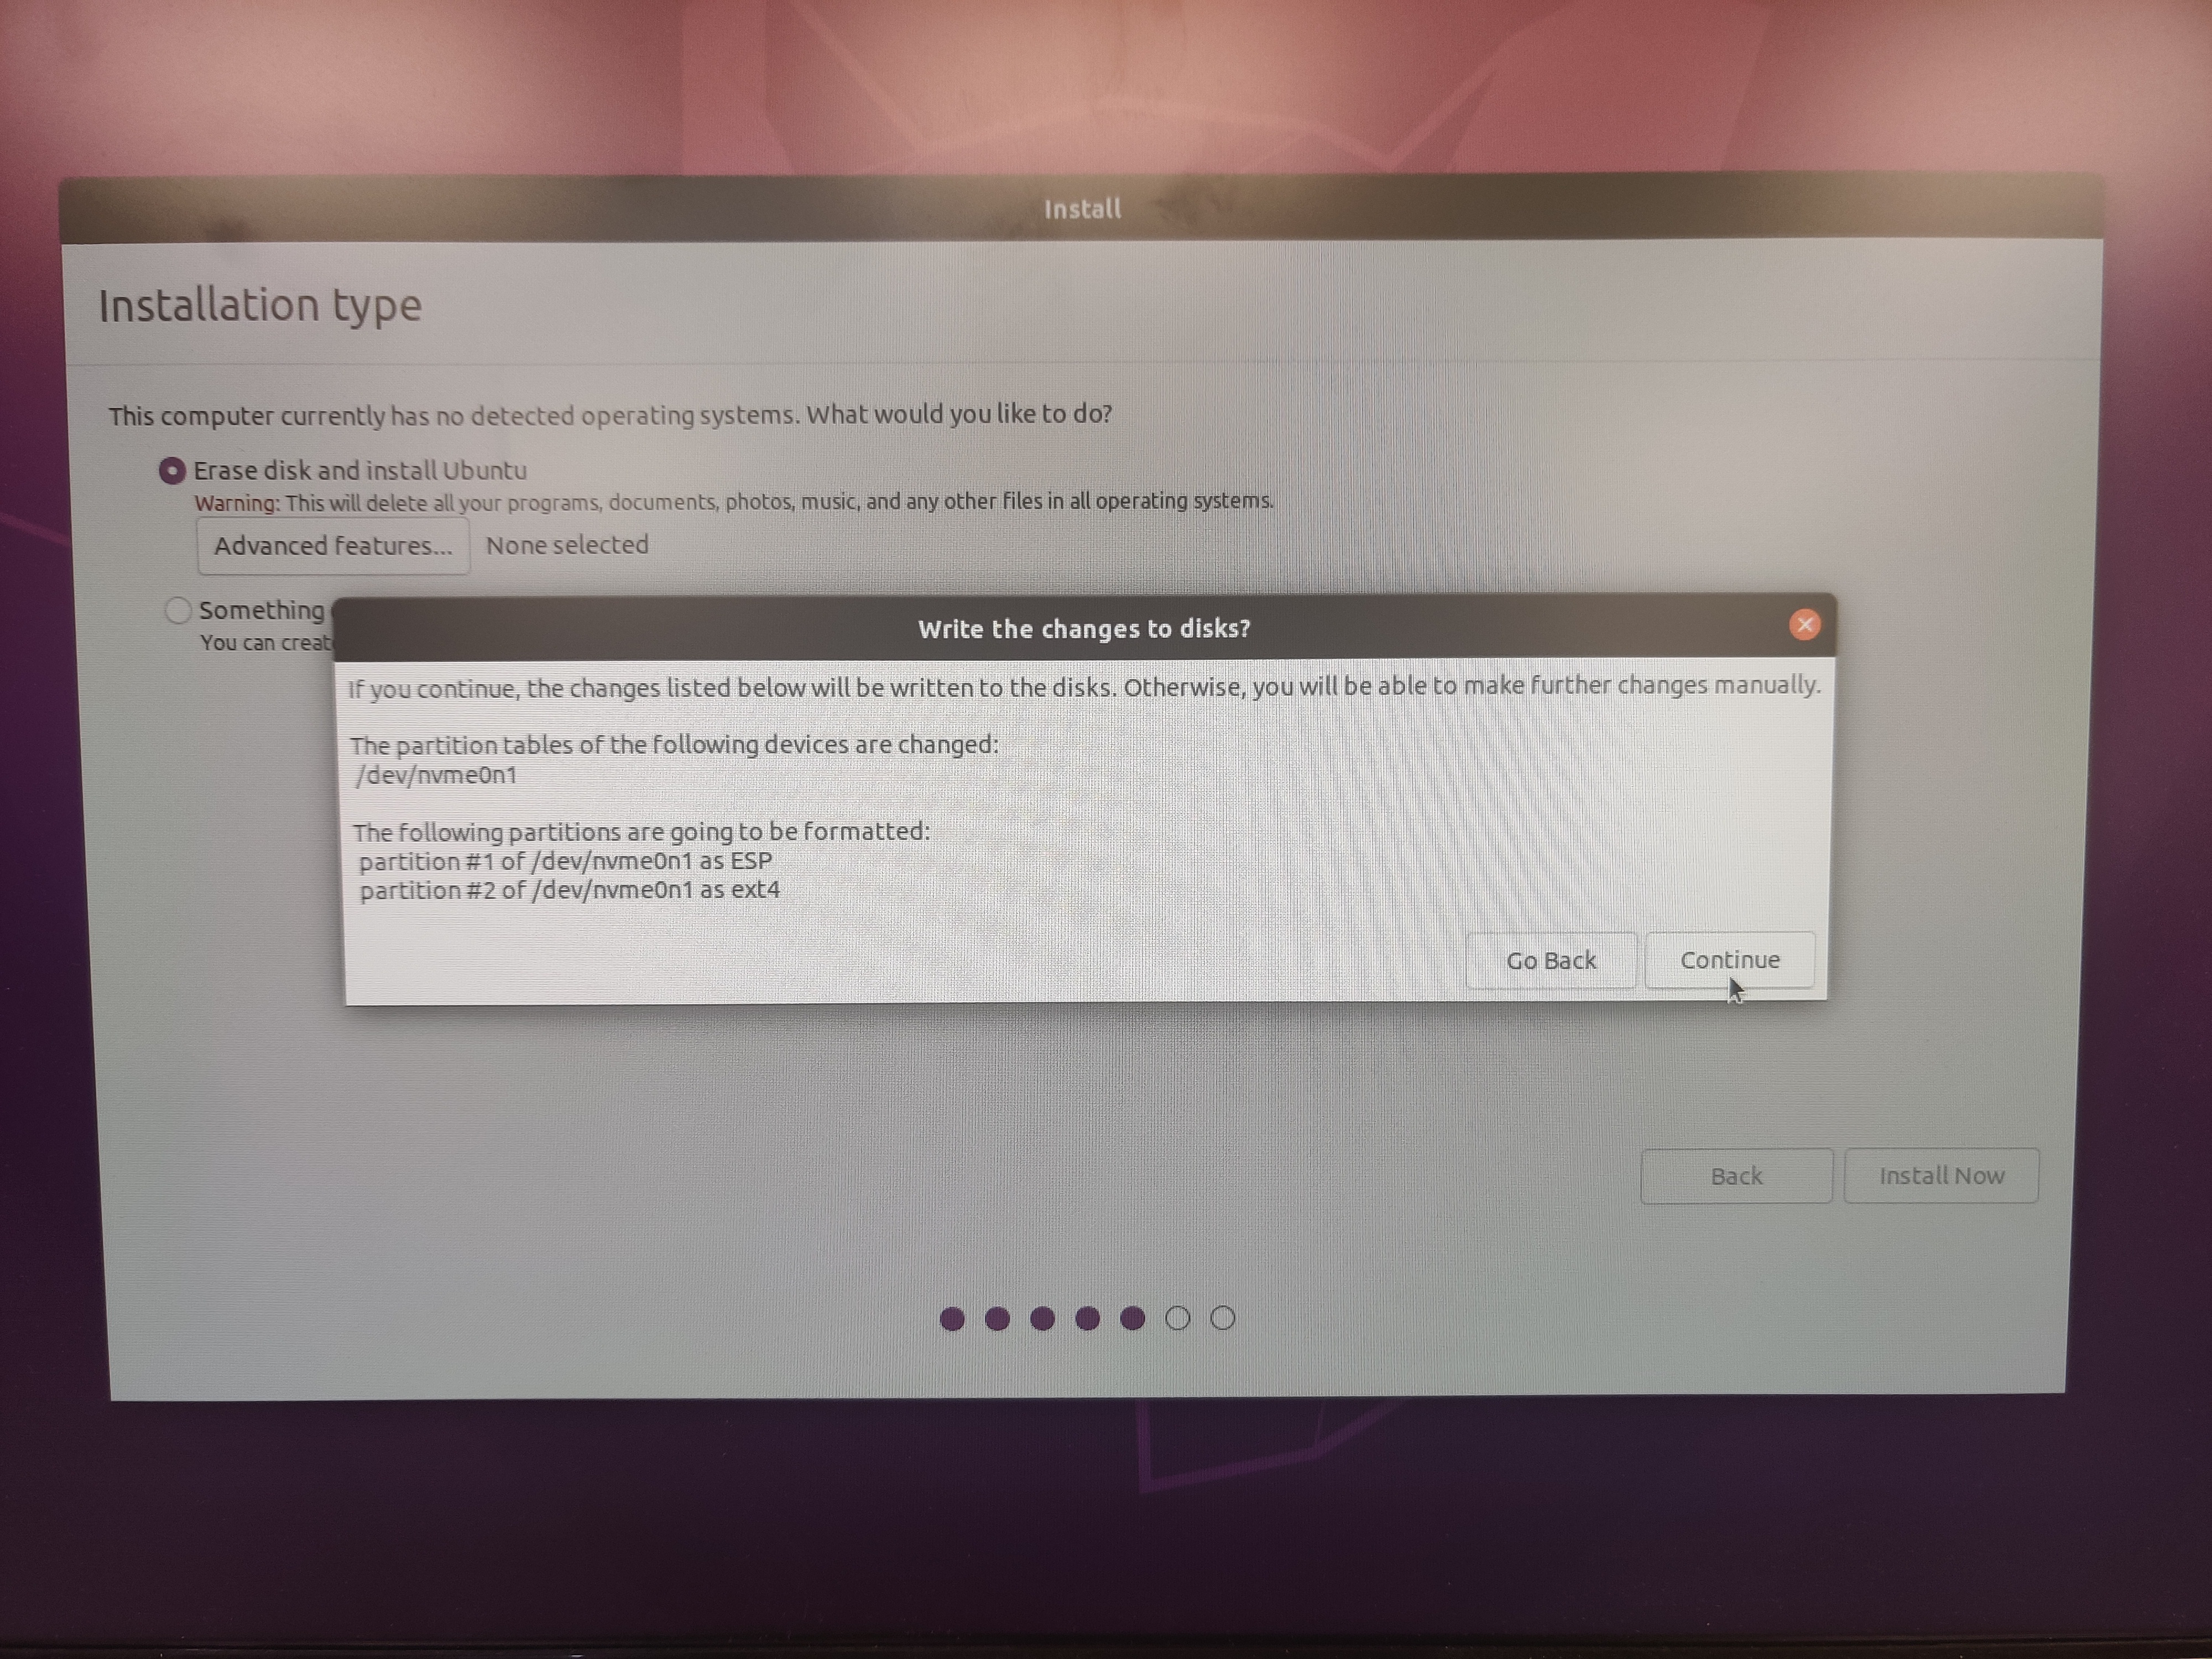
There will be a prompt to confirm you wish to create the appropriate partitions for the Ubuntu install. Clicking 'Continue' will begin making changes to your robot's hard drive, so ensure there is nothing on the hard drive you wish to save before selecting continue.
-
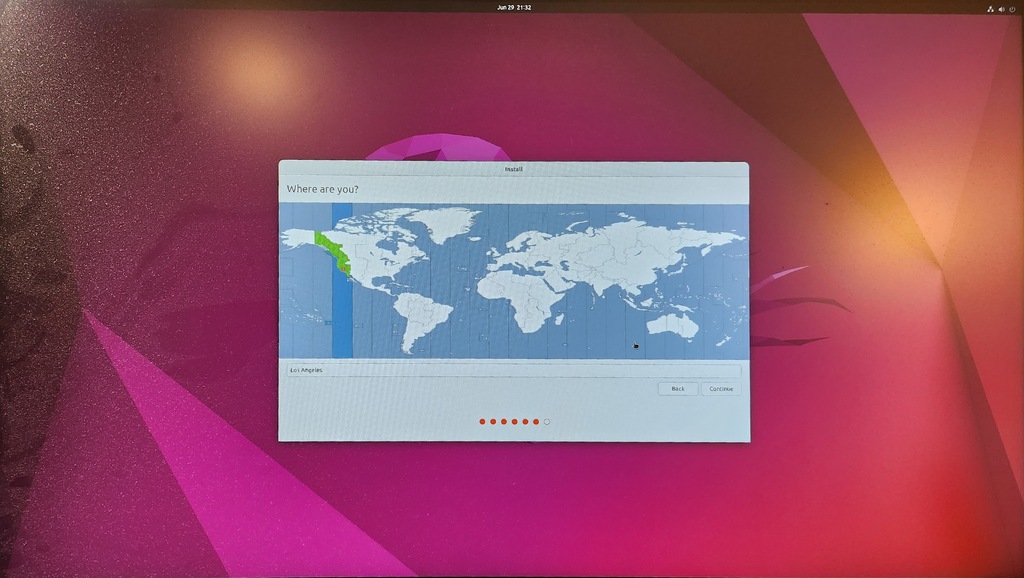
Next, select your timezone.
-
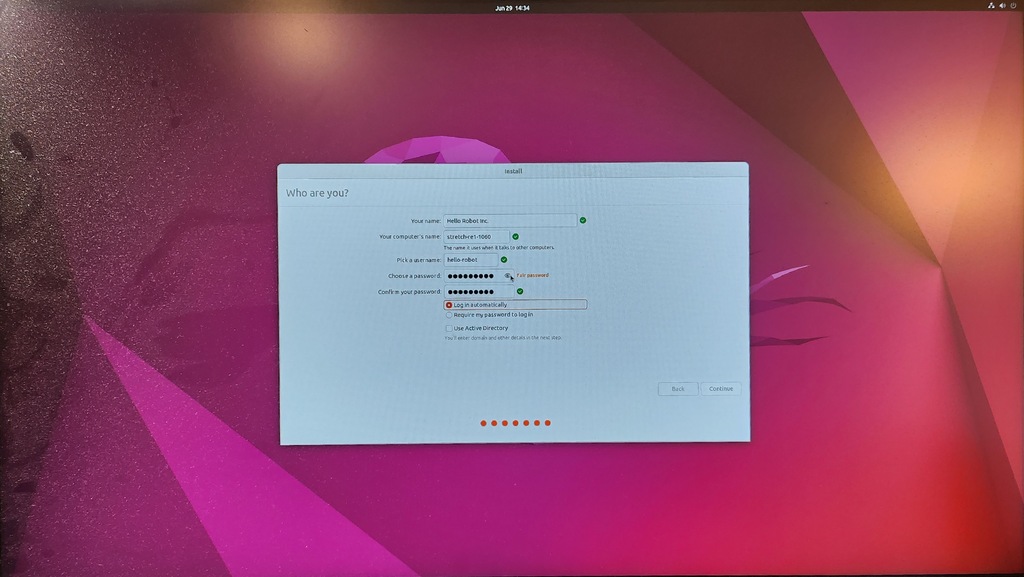
Finally, enter the identifying information as written below, replacing 'stretch-yyy-xxxx' with the appropriate name for the robot.
yyyis your robot model number ("re1" for a Stretch RE1, "re2" for a Stretch 2, or "se3" for a Stretch 3), andxxxxis your robot's serial number. The robot's serial number can be found on a sticker on the left wall of the robot's trunk. Also select the 'Log in automatically' option.- name: Hello Robot Inc.
- computer name: stretch-yyy-xxxx
- username: hello-robot
- password: choose your own
-
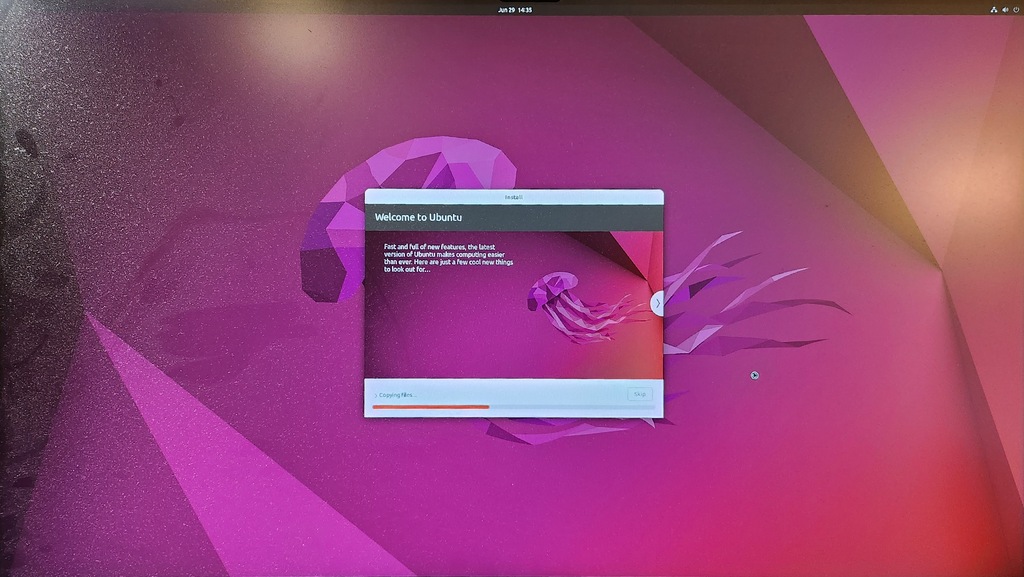
Ubuntu will now be installed.
-
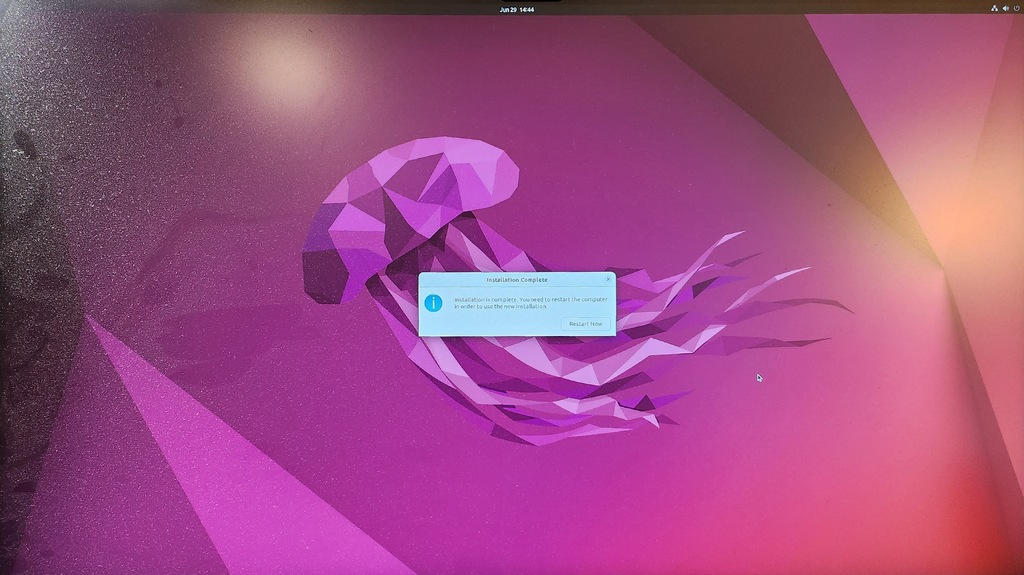
After the installation is completed, you will be prompted to restart. Select 'Restart Now'.
-
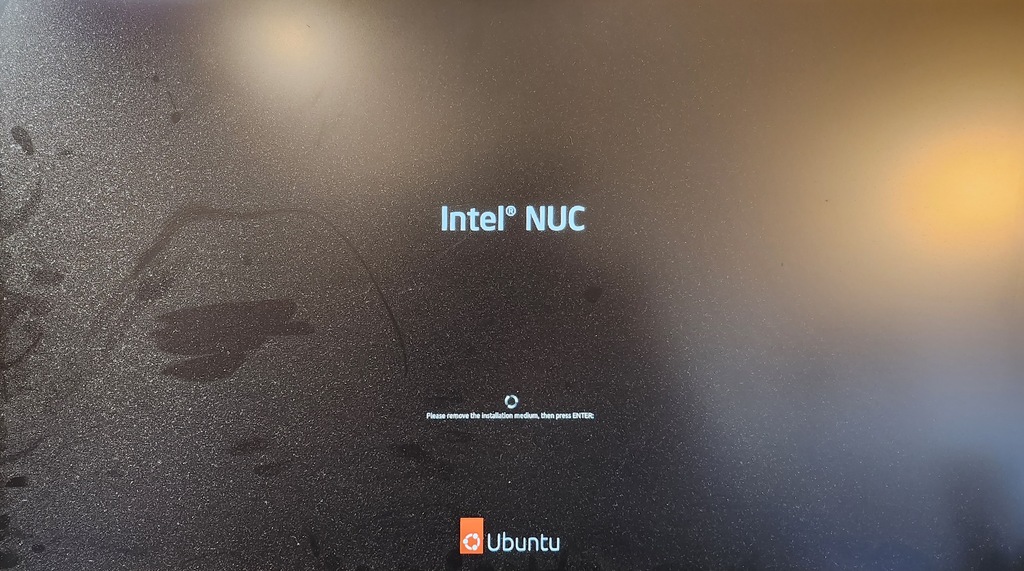
Remove the installation medium and press ENTER to restart.
Ubuntu 22.04 is now installed successfully.